The process from deciding on your house plan to actually signing on the dotted line is a process that could take weeks. To kick start the project, you pay a small deposit to the sales person, who will then forward the paperwork to the head office. From that point onwards, you will be contacted by administrative staff from the head office who will take you through various steps before you can finally sign the contract and finalised floor plans.
These steps are:
- Appointment to finalise the chosen floor plan
- Colour selection – this is the fun part of selecting everything – bricks, roof tiles, fascia colour, gutter colour, downpipe colour, garage door design and colour, floor coverings, wall colours, door handles, cabinet colours/laminates, and so on. Unlike in Singapore where you have only 2 main colour schemes to choose from, the permutations are practically endless in Australia.

- Electrical selection – you decide on the exact position of electrical, phone and lighting points, additional points, upgrades to switch plates and switches, home automation systems, etc.
- Once your upgrades and selections have been priced up, the head office then finalises the contract for signing during another appointment at the head office.
With the signed contract, you can then finalise your finance/loan. Your builder usually requires that you provide them with proof of finance before they provide you with a ‘site start date’.
Now before you get too excited about signing the dotted line, do ensure that you spend heaps of time going over your colour scheme and other fittings. Once you have signed the contract and colour selection choices, it is quite a challenge to get it changed even if it’s just a minor amendment. The admin staff may tell you they updated it but somehow the information won’t get passed on to the site supervisor who may still end up having the old copy.
Besides going down to the colour selection office (usually open on weekends for browsing), it is also worthwhile having a good look at the various options installed in your builder’s display homes. Sometimes going around a few neighbourhoods to see actual colour combinations (bricks, gutters, downpipes and garage doors) may result in you changing your mind too.
Carlisle Homes
Metricon
Porter Davis
Urban Edge
Bricks
I recall having my heart set on some beige-coloured bricks until I saw them on an older house with dark coloured water stains running down them. Some brick suppliers have display walls built on their sites so that you can have an idea of how the bricks will look under the sun at various times of the day.
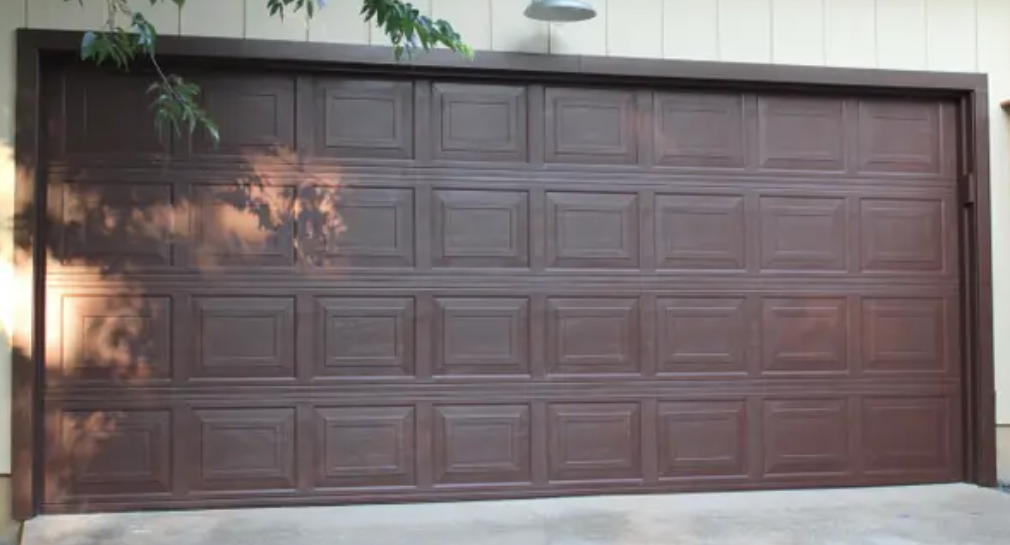
Garage Doors
I also thought the brown coloured garage doors looked great until I realised they looked like chocolate bars.
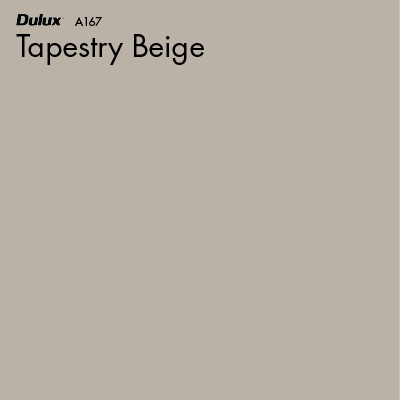
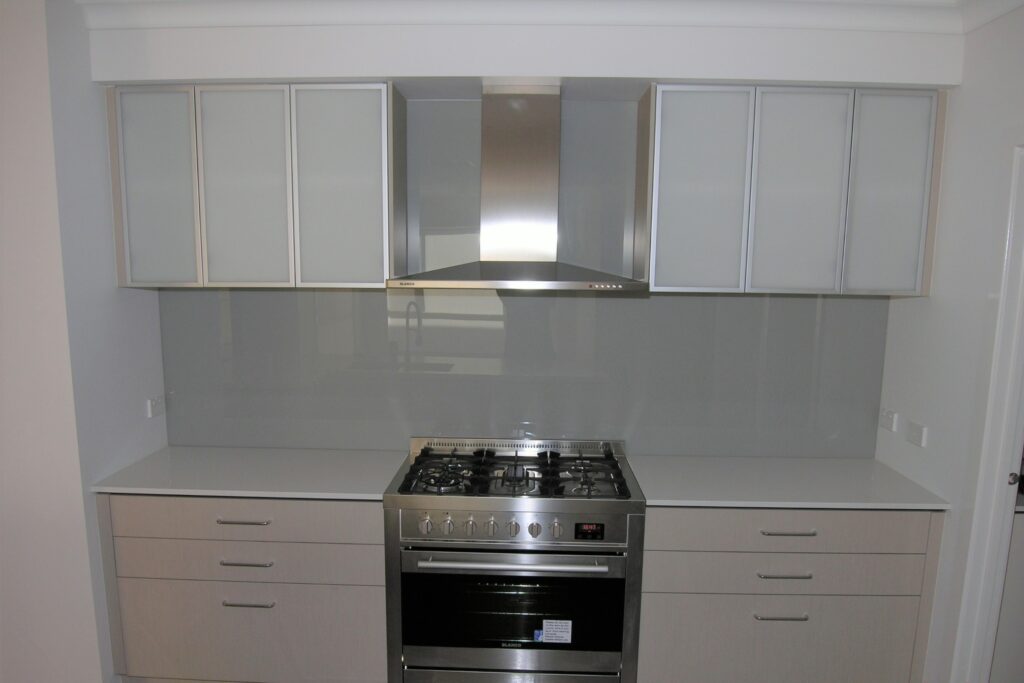
Glass Splashback
Where possible, ask the builder for the colours used on glass splashbacks in their display homes, rather than picking your own colour. More often than not, the green tint of the glass may result in a different shade. For example, we picked a beige colour (Tapestry Beige A 167) for our glass splashback to go nicely with our beige cabinets. The actual outcome was a grey splashback and the builder refused to do anything about it, insisting that it was exactly the colour we had selected.
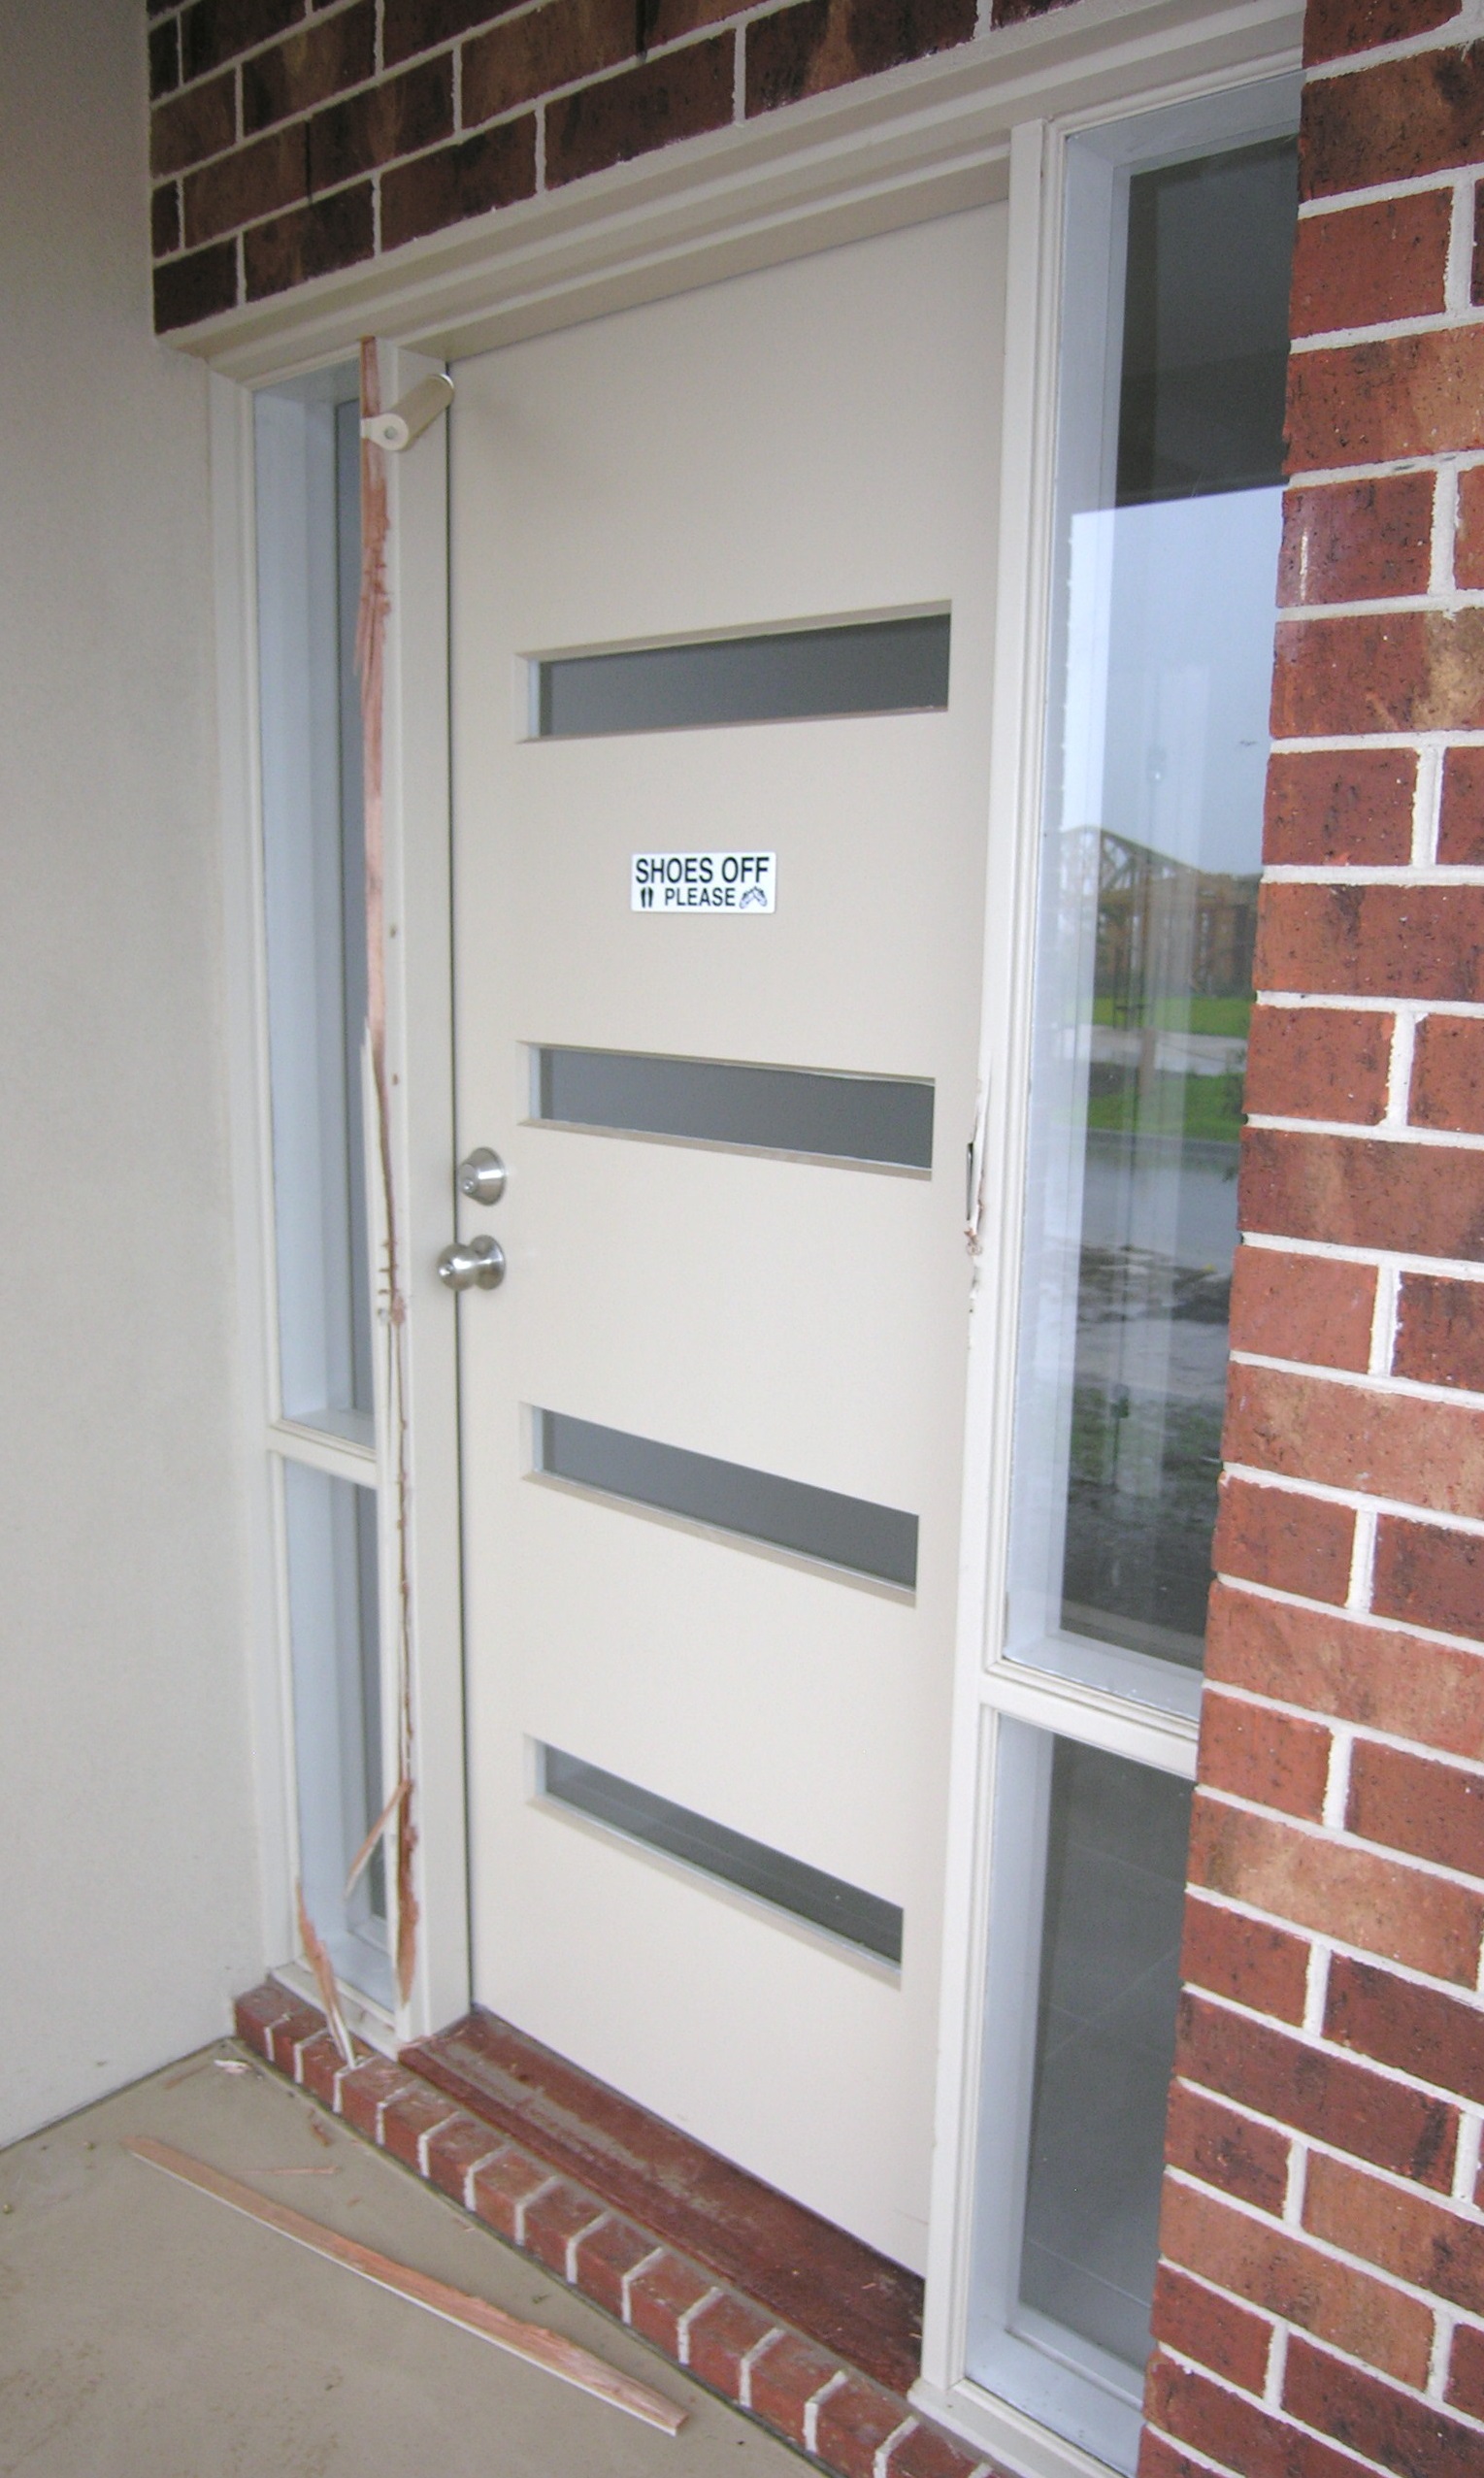
Quality of Fittings
Be certain to look carefully at the quality of fittings used. Some builders will build the exterior doors (eg. entrance doors and laundry doors) with metal frames which make them more durable and more secure especially when fitting security doors to them. Some builders will only build them with timber frames and will not upgrade even if you are willing to pay for it. If you’re security conscious, you would know that fitting a security door to a timber frame does next to nothing for security against hard core burglars.
Little Extras
Some builders include some frills as standard while for others, it may be available at an additional cost.
Some examples of little extras:
- frosted glass for bathroom windows
- window locks for all windows
- deadlocks on entrance doors
- draught-proofing at the base of entrance doors
- locks to bedroom doors
- fully tiled bathroom
Note: If your budget allows for it, it is worth upgrading to fully tiled bathrooms. Most builders tile the bathroom partially. With just a row of tiles above the sink/vanity and bathtub and within the shower area extending just above the height of the shower glass. It’s not common for bathrooms to be fully tiled from floor to ceiling.
Let us know how you go. We’d love to hear from you about your favourite colour selection choices and upgrades! Best of luck with your colour selection!
Useful Links
Your Home, a Government website
Disclaimer: Links to various suppliers or builders on this website are just for information/illustration purposes. ‘Life in Melbourne’ has no affiliations with any of these suppliers or builders. We do not expressly recommend that you purchase from these suppliers or engage these builders, and suggest that you perform your own research and due diligence.